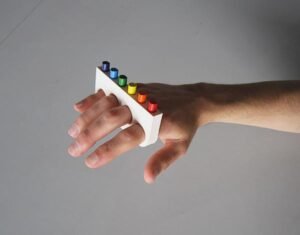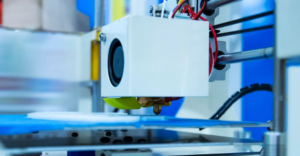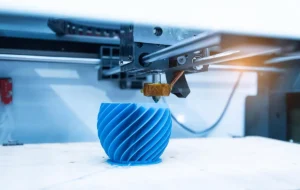
Support structures are a common necessity in 3D printing, especially for intricate and complex designs. However, once your 3D print is complete, you’ll need to tackle the task of removing these supports to reveal your final masterpiece. In this comprehensive guide, we’ll walk you through the process of removing supports from 3D prints, ensuring a clean and polished result without damaging your creation.
1. Gather Your Tools
Before you begin, gather the following tools:
- Needle-nose pliers
- Flush cutters
- X-Acto knife or craft knife
- Sandpaper or emery board
- Safety goggles (recommended)
2. Choose the Right Moment
Allow your 3D print to cool down completely before attempting to remove supports. This reduces the risk of warping or damaging the print due to residual heat.
3. Inspect and Plan
Examine your 3D print to identify where the support structures are connected. Understand how the supports are attached to your print and plan your removal strategy accordingly.
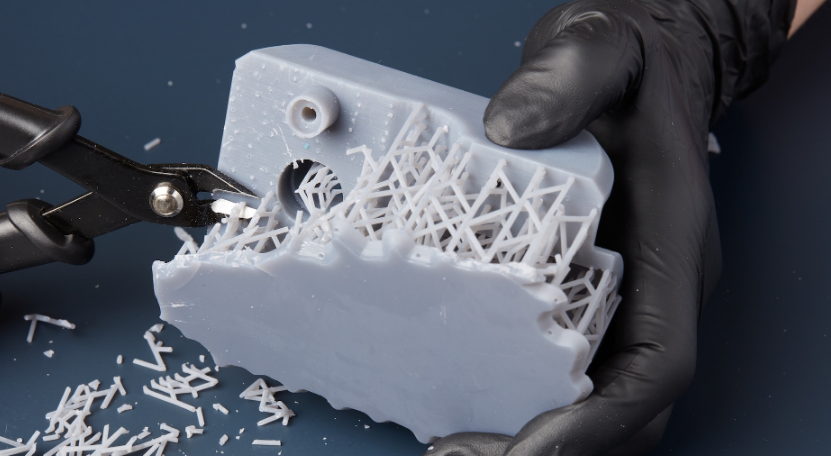
4. Pliers Method
- Use needle-nose pliers to grip the support as close to the base as possible.
- Gently wiggle and twist the support while pulling it away from the print.
- Proceed slowly and cautiously to avoid damaging the print or leaving rough surfaces.
- Repeat the process for all support structures.
5. Flush Cutters Method
- Utilize flush cutters to carefully snip the supports as close to the print as you can.
- If needed, use an X-Acto or craft knife to gently remove any remaining attachment points.
- Lightly sand the area with sandpaper or an emery board to smooth any rough edges.
6. X-Acto Knife Method
- Slide the edge of a sharp X-Acto or craft knife under the base of the support.
- Gradually lift and gently pry the support away from the print.
- Exercise caution and take your time to prevent unintended damage to the print.
- Use the knife to trim off any remaining support remnants.
7. Post-Processing
After support removal, inspect your print for imperfections or marks left behind. Depending on your desired finish, consider the following steps:
- Lightly sand areas where supports were attached for a smoother texture.
- Apply filler or putty to fill any gaps or blemishes, if necessary.
- Finish or paint your print for the desired appearance.
8. Safety Precautions
When removing supports, prioritize safety by wearing protective goggles to prevent any potential debris from entering your eyes. Additionally, be cautious when using sharp tools to avoid injuries.
Conclusion
Mastering the art of removing supports from 3D prints is an essential skill for every 3D printing enthusiast. By following these step-by-step techniques, you can confidently remove supports from your prints while maintaining the quality and aesthetics of your creations. With practice and patience, you’ll achieve seamless results that highlight the true potential of your 3D-printed objects.